What To Check Before Buying A Repairable Everyday Gadget
A practical step-by-step guide to what to check before buying a repairable everyday gadget, including preparation, instructions, common issues, tips, and next steps.
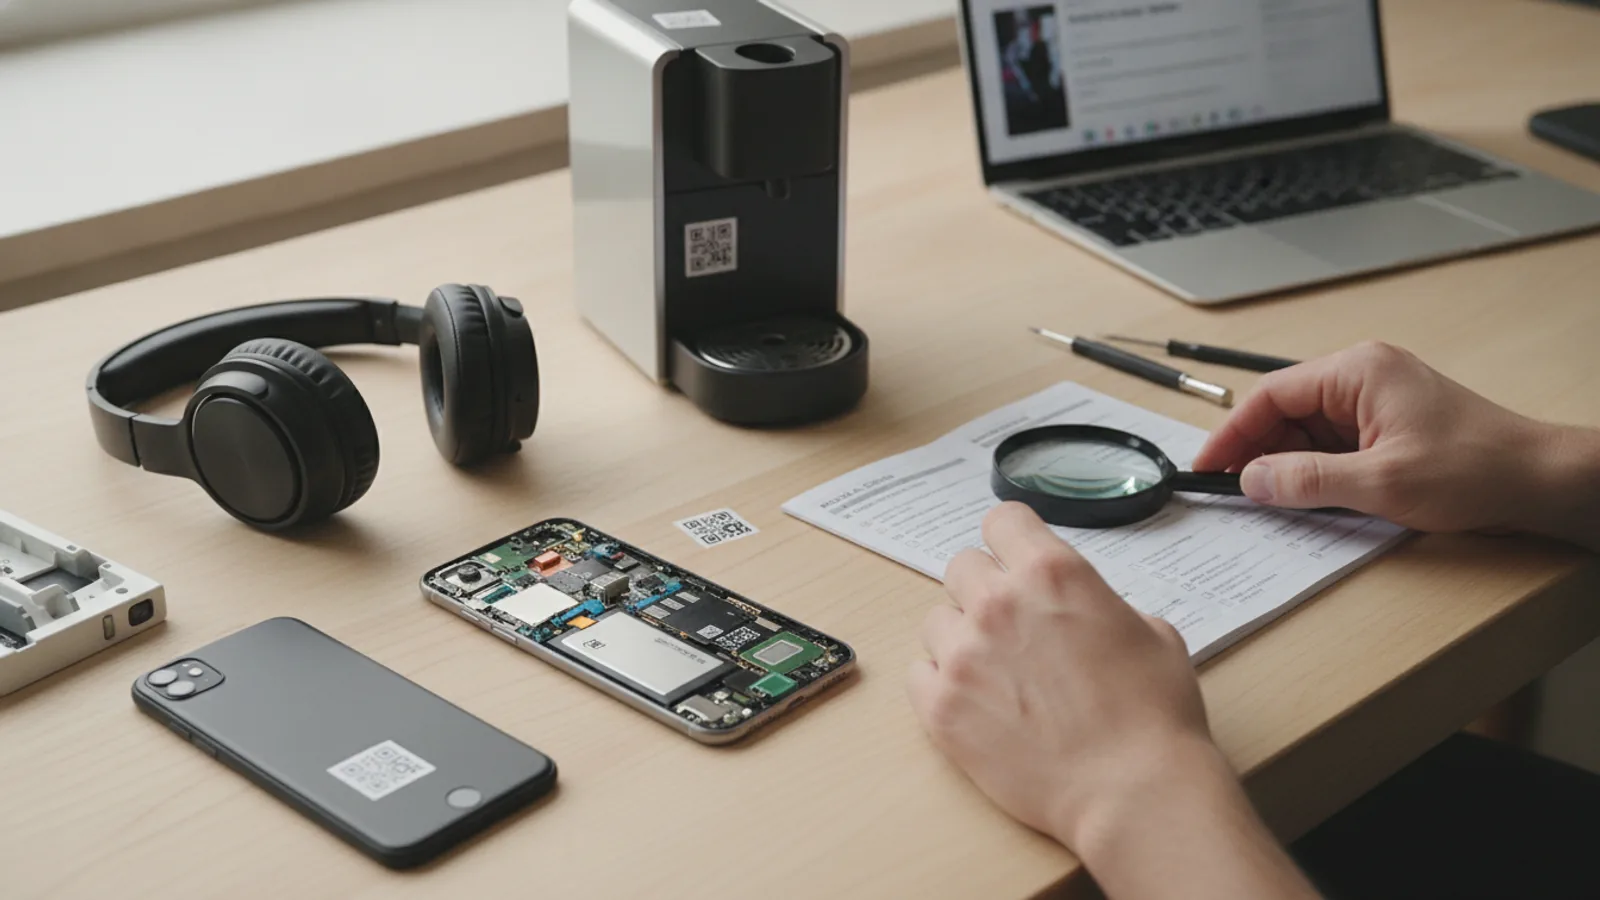
What To Check Before Buying A Repairable Everyday Gadget
Before you buy a repairable everyday gadget, you need to verify that you can actually obtain parts, tools, and service information for that specific model, and that you have the willingness to perform the repair yourself. A repairable device is only worthwhile if you can get the necessary components and guidance when something fails. This guide walks you through a structured pre-purchase assessment: defining your repair skills, checking the availability of official service manuals, confirming that replacement parts are sold separately, examining the build quality and use of adhesives or proprietary fasteners, understanding warranty implications, and planning for future repair challenges. By following these checks, you avoid buying a device that looks repairable on the surface but becomes a paperweight when a common component fails.
Fast Answer
- Check if the manufacturer sells genuine replacement parts directly to consumers and if independent repair shops can order them, otherwise you might be stuck with a non-functional device.
- See if the official service manual is free to download and includes clear step-by-step disassembly instructions with torque specs and adhesive maps; if not, repair will be guesswork.
Before You Start
- Gather your repair skill level honestly: rate yourself from basic (can swap a battery in a phone) to advanced (can microsolder) and choose a gadget that matches your ability or that you are willing to learn on.
- Find out the device's expected lifespan and how long the manufacturer commits to providing spare parts; look for their stated policy on supporting repairs for a certain number of years after launch.
- Learn about your local consumer protection laws regarding the right to repair, but remember that even where laws exist, you still need to verify if the manufacturer complies by offering parts and manuals.
- Set aside a repair budget that includes the cost of the part, any specialized tools you might need to buy, and a possible backup device to use while yours is apart; this prevents panic if a repair takes longer than planned.
Step-by-Step Instructions
Assess Your Actual Repair Skills Honestly
Before you even browse for a gadget, take a honest inventory of what you have successfully repaired in the past. Have you replaced a smartphone screen, swapped a laptop keyboard, or rebuilt a mechanical watch? Write down your comfort level with opening devices, handling small screws, and using tools like spudgers and tweezers. Your current skill set determines whether a heavily glued gadget is a realistic purchase or a future frustration. If you have only done simple battery swaps, avoid devices that require separating glued screen assemblies. Conversely, if you are confident with soldering and microelectronics, you can consider modular devices that allow component-level repair. Being realistic saves you money and stress, because a repair that is beyond your ability will either sit in a drawer or cost you extra to have a professional finish. Remember that you can always learn new skills, but do not plan to learn on your only daily driver.
Look Up the Official Service Manual Existence
A repairable gadget must have an official service manual that anyone can download, not just repair shops. This manual should show a detailed exploded view of the device, list every screw size and location, describe how to open the case without breaking clips, and warn you about fragile flex cables. You should be able to find it on the manufacturer's support website or through a link in the product documentation. If you cannot locate a manual after a few search attempts, treat that as a red flag. Without a manual, you are left to guess the disassembly order, torque settings, and adhesive placement, which leads to cracked screens and stripped screws. Also, check that the manual is for your specific model, since even a minor variant can have different internal layouts. A manual that is clear and complete indicates the manufacturer expects owners to do repairs, which often correlates with better part availability.
Verify Genuine Parts Are Sold Separately
The heart of repairability is the ability to buy genuine replacement parts without going through a third-party shop that insists on doing the repair themselves. Visit the manufacturer's website and search for parts for the specific model you want, such as a battery, screen, or charging port. You need to see that these parts are in stock and available for direct purchase by consumers, not just to authorized service centers. Also note whether the part comes as an assembly that includes the necessary adhesive or small screws, or whether you have to buy those separately. If you find that only entire top assemblies are sold, that increases the cost and complexity of your repair. Additionally, check independent parts distributors that specialize in used or original parts, because they can be a backup source. A device that you cannot buy parts for is not truly repairable, no matter how cleverly it is designed.
Inspect the Chassis for Adhesive and Fastener Types
Look closely at how the device is assembled. Many modern gadgets are sealed with strong adhesive that requires heat and suction cups to remove, which is not impossible but increases the chance of damaging the display. If you are not comfortable with that, look for devices that use screws or clips to hold the case together. Also, check what kind of screws are used: standard Phillips or Torx are easy to find, while proprietary pentalobe screws require special bits that may not come in your basic kit. Look for modular components, such as a battery that is not glued but held by clips or screws, and ports that are separate modules rather than soldered to the motherboard. The more modular the internals, the less likely you will need to replace a costly circuit board for a simple port failure. Examine the disassembly guide to see how many steps involve melting adhesive or pulling fragile ribbons.
Confirm the Repair Does Not Void Warranty Unreasonably
Understand the warranty implications of opening your device. Most manufacturers are legally required to honor warranties for defects, even if you have performed a repair, as long as you do not cause the damage. However, some companies have restrictive policies that void warranty if any unauthorized service is performed. Before buying, read the warranty statement for the specific product. Look for language that says repairs by the owner do not automatically void the warranty, and that only damage caused by the repair is excluded. If you live in a region with strong consumer protections, you may have more rights, but do not rely on that. Also consider purchasing an extended warranty that explicitly covers self-repair mistakes, though such policies are rare. If the warranty terms are vague, contact the manufacturer and ask for written confirmation. A device that is both repairable and under a fair warranty gives you peace of mind.
Plan for Future Part Lifespan and Software Support
A repairable gadget is only useful if you can actually use it for years. Check how long the manufacturer commits to producing spare parts, ideally at least five years after the product's release, and note that this period often depends on demand. Also set realistic expectations about software support: a device that stops receiving security updates because you replaced a part is rare, but you should still check if the manufacturer allows you to install updates after a repair, and whether parts like fingerprint readers need to be recalibrated by a technician. Look for information about the device's expected lifetime and any planned end-of-life date. You may accept a shorter software support window if the hardware is solid and repairable. The goal is to avoid buying a device that becomes obsolete or bricks because a minor component fails and no parts are made.
Quick Reference
| Situation | Action | Why it helps |
|---|---|---|
| You find a gadget with excellent repairability scores but you have never opened an electronic device before. | Start by taking apart a cheap, sacrificial device like a broken CD player or a thrift-store laptop to practice basic disassembly and cable handling, then reassess if you still want to buy the repairable gadget. | Practicing on a low-stakes item builds your confidence and skill, so you are less likely to damage the expensive new device during your first real repair. |
| The official service manual is behind a paywall or only available to authorized shops. | Contact the manufacturer's consumer support and ask for the manual for your specific model, explaining that you intend to perform your own repairs; if they refuse, consider a different product. | A manufacturer that hides the manual likely does not support owner repairs, and without technical documentation you cannot safely or effectively fix the device yourself. |
| You find the battery replacement guide shows that the battery is glued with a strong adhesive and requires heating the back cover. | Before buying, purchase a quality heat gun or hair dryer, a set of plastic spudgers, and suction cups, and watch at least three videos of that exact battery replacement to learn the technique. | Using the right tools and watching experienced technicians perform the repair reduces the risk of cracking the display or puncturing the battery, which could cause a fire. |
Common Issues
- Replacement parts are discontinued soon after the device's release, making it impossible to find a genuine screen or battery.: Look for third-party parts that are specifically manufactured to match original specifications, but test the part immediately after installation and verify it performs within acceptable tolerances; also check if the part is used from a donor device, which is a viable fallback.
- The device uses unusual screws that you cannot turn with ordinary screwdrivers, leaving you stuck at the first step.: Order a precision screwdriver kit that includes the specific bit types mentioned in the manual, such as pentalobe or tri-point, and keep a separate set for small electronics; if the bit strips, use a rubber band for grip or a stripped-screw extractor.
- Your first repair attempt fails and the device no longer powers on, making you doubt whether the repairable purchase was a mistake.: Go back through the service manual and check that you have reconnected every flat ribbon cable and that no screw is shorting the logic board; if the device still does not turn on, accept that you may need a professional's help and budget for that next time.
Advanced Tips
- Before you buy, search for the device's 'repair difficulty' score from independent reviewer sites, but cross-reference that with the official manual, because some devices that are easy to open have fragile internals that are hard to replace individually.
- Purchase two or three common spare parts, like a charging port or a speaker, at the same time as the device, because parts availability can fluctuate and you will already have them if a failure occurs.
- Learn the difference between soldered and connector-based components; for a device you plan to keep long‑term, prioritize those with connectors that can be unplugged, even if they cost more, because you can handle them with no soldering experience.
Final Checklist
- I have read the official service manual for this exact model and understand the first few steps of a common repair.
- I have confirmed that the manufacturer sells genuine replacement parts directly to consumers, and I have noted the part numbers.
- I have bought or borrowed all necessary tools, including the correct screwdriver bits, spudgers, and a heat source if adhesive is present.
- I have read the warranty policy and I know what actions are likely to void coverage, so I can avoid those mistakes during my repair.
FAQ
What defines a 'repairable' gadget?
A repairable gadget is one that can be opened with ordinary or readily available tools, uses standard connectors and fasteners, and has a well-documented disassembly process. It also means that replacement parts are available for purchase without requiring a professional technician or a factory authorization. In practice, that includes devices with replaceable batteries, modular subcomponents, and official service guides. You should be able to replace a failed part with nothing more than a few hours of work and basic ifixit knowledge.
Can I repair any gadget if I have the right tools and a guide?
Having the right tools and a guide dramatically increases your chances, but some repairs are inherently risky due to design choices. For example, a device with a glued screen that requires heating and suction is doable, but you must be patient and precise to avoid cracking the glass. Similarly, microsoldering a damaged circuit board requires specialized equipment and skill that you might not possess. Even with a manual, some repairs are not practical for a beginner. Always assess the complexity and be willing to stop and ask for help if you feel unsure.
Do I need a separate warranty for a repairable device?
The device's standard warranty covers manufacturing defects, but it may not cover damage you cause during an attempted repair. You could consider buying an extended warranty that explicitly allows self-repair, but such policies are not common. The best approach is to read the standard warranty terms carefully and ask the manufacturer about their policy on owner repairs. Some companies have clear language that you do not void the warranty unless your repair causes the damage. If the warranty is restrictive, you might want to find a different device or be prepared to pay for future repairs out of pocket.