What To Check Before Choosing Noise Cancelling Headphones For Commuting
A practical step-by-step guide to what to check before choosing noise cancelling headphones for commuting, including preparation, instructions, common issues, tips, and next steps.
What To Check Before Choosing Noise Cancelling Headphones For Commuting
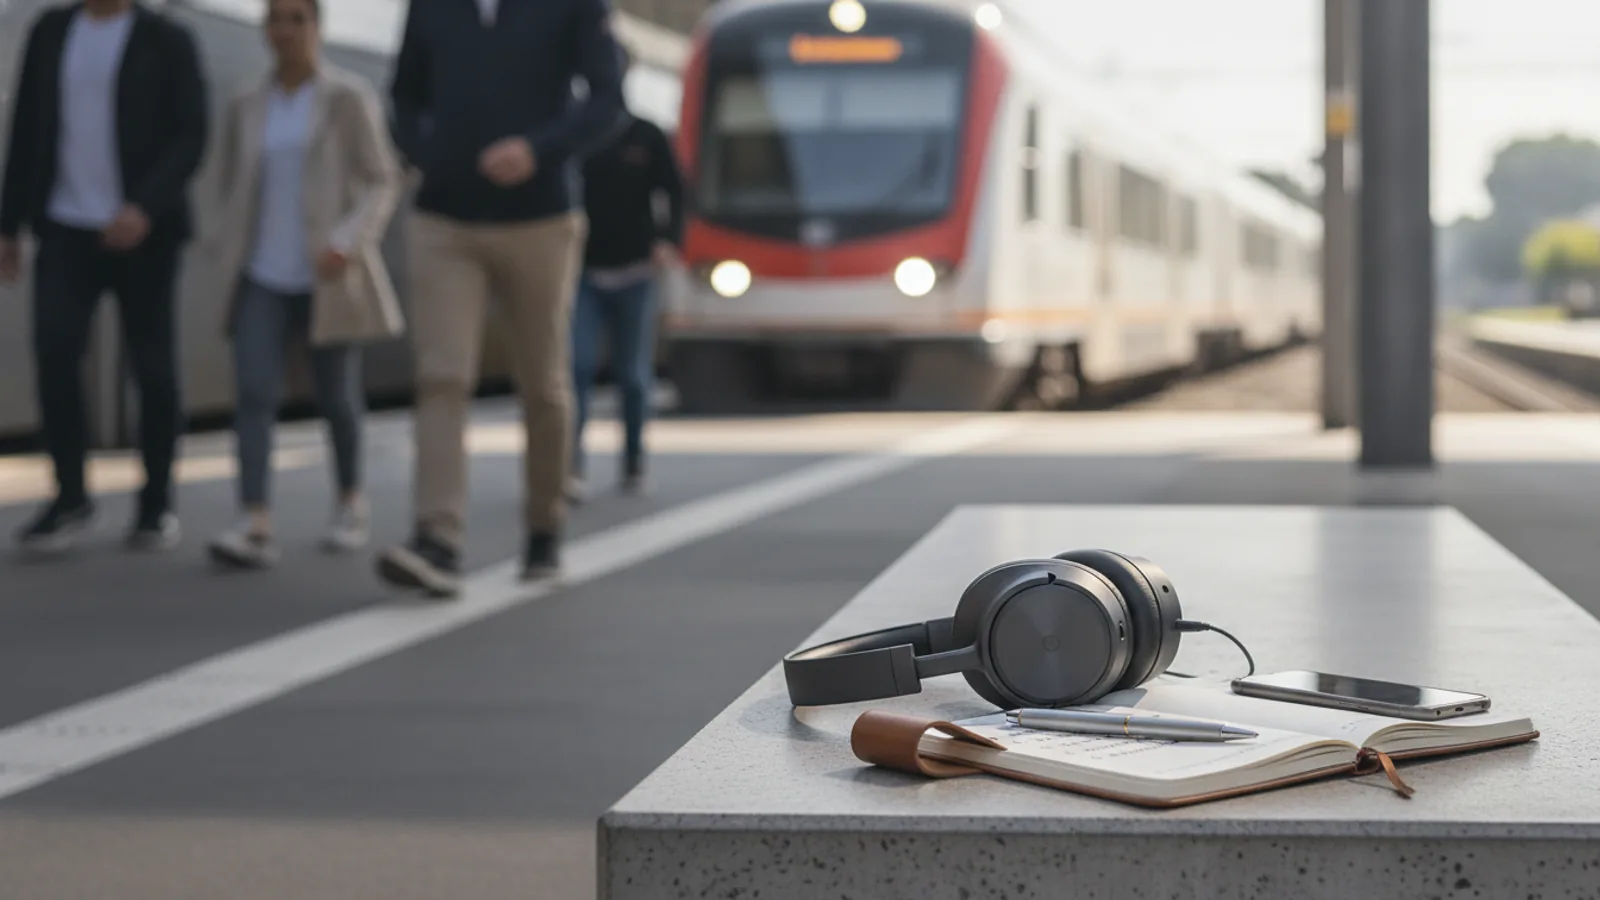
Choosing noise cancelling headphones for commuting requires evaluating more than just the noise cancelling feature. You need to check comfort for extended wear, battery life for daily trips, portability, and how effectively they handle inconsistent noises like chatter and traffic. This guide walks you through essential checks—fit, clamping force, ear cup depth, ambient mode, battery capacity, charging speed, carrying case size, and multipoint connection—so you can pick a pair that reduces fatigue and improves focus during your commute. Each step gives a concrete action, a practical test, and a reason why that check matters for a commuter. You'll also find quick references, troubleshooting, and advanced tips for long-term satisfaction.
Fast Answer
- Check the clamping force and ear cup depth to ensure a comfortable, stable fit for your daily commute without causing ear soreness.
- Verify real-world battery life and whether the headphones have a quick-charge feature so they survive your longest trips.
Before You Start
- Gather a soft measuring tape or a piece of string and a ruler to measure your head and ear dimensions for fit comparison.
- List your typical commute duration, including waits and walking time, to calculate the minimum battery life you need.
- List the different noise sources on your commute—train rumble, bus engine, chatter, wind—to know what type of noise cancelling you need.
- Have your phone and any secondary device (like a tablet) handy to test multipoint connectivity and app controls.
Step-by-Step Instructions
Measure your ear depth and head width
Start by measuring your ear depth—from the opening of your ear canal to the back of your ear—using a flexible ruler or a string and ruler. Also measure the width of your head at the widest point, just above your ears. Compare these measurements to the ear cup depth and headband width listed in the product specifications. For commuting, you need ear cups deep enough to avoid pressing on your ears, typically more than 2 centimeters. A shallow cup will cause discomfort after 30 minutes. Additionally, note the headband's adjustable range; it should fit your head size without pinching. Many headphones have a clamping force that works for average heads but may be too tight for wider heads. You cannot try them in the store, so measuring ensures the profile matches your shape. This check prevents the most common complaint: painful ears during a commute. If the ear cups are too shallow, you will constantly adjust them, which also weakens the noise cancelling seal. Write down your measurements and keep them as a baseline when comparing models. This simple prep step takes five minutes but saves you from buying a pair that is impossible to wear for your full trip.
Test the clamping force without wearing them
Gently press the ear cups together with both hands to gauge the clamping strength. The force should be firm but not crushing; you want a secure hold that doesn't squeeze your head. A practical test: hold the headphones with one ear cup against your palm and apply the other cup to the other palm—the pressure should feel even without digging into your skin. If the headband bends too easily, the clamping force may be too weak for good noise cancelling. Conversely, if you need to force the ear cups apart, the headband is too stiff. Remember that foam padding compresses over time, so a tight new pair often loosens slightly, but a very tight pair may remain uncomfortable. Look for an even distribution of pressure across your head; pressure points on the crown or temples cause headaches after an hour. The clamping force directly affects the noise cancelling seal—a looser fit creates gaps that let ambient sound leak in. For commuting, you need a balance between stability and comfort, especially when you turn your head to check for traffic. This test helps you predict how the headphones will feel during a 45-minute train ride. If you cannot feel the pressure distribution from this simple touch test, consider ordering from a retailer with a generous return policy.
Check ear cup width and depth for ear shape
Place the ear cup over your ear. Your entire ear should fit inside without touching the inner fabric or the speaker mesh. The ear cup's width should be at least as wide as your ear's length; if your ear folds over, that will cause pain and also break the acoustical seal. Many headphones have an oval shape, but ears vary—some are rounder, some wider. Use a mirror to check the edges of the cup and see if your ear's outer rim presses against any part. A good test: slide a piece of paper between your ear and the inner fabric along the front and back—if it slides easily, that is a good sign. Also check the depth from the opening to the speaker; if the speaker presses on the ear, it will become sore. This is especially important for commuters who wear glasses or earrings. The ear cup should not touch the arms of your glasses; if it does, you may get hot spots. Remember that ear cups are not shaped like your ear; they are often angled to follow the natural tilt. A simple rule: if you can wiggle your ears without moving the headphones, the fit is right. Ignore this check, and you may end up with a headphone that blocks noise but becomes unbearable after 20 minutes of wear.
Activate ambient mode and listen for gaps
Turn on the headphones and enable the ambient or transparency mode. Play a quiet podcast or conversation from your phone at a low volume. Walk around your room while listening to see if the outside sound comes through clearly. The ambient mode should let you hear voices and traffic without a hollow, plugged feeling. Then switch to full noise cancelling and listen to the same audio; you should notice a significant reduction in low-frequency hum like a fridge or fan. Now, shake your head gently; if the noise cancelling fluctuates or you hear pressure changes, the seal may be incomplete. Also, put your hand over one ear cup slightly to simulate a gap—if noise leaks in immediately, the fit is too loose. For commuting, you need ambient mode because you will need to hear announcements or interact with people. A common issue is that some headphones have aggressive ambient mode that amplifies wind noise, which is bad if you walk outside. Test by placing a piece of paper near the microphones to see if wind noise spikes. This check ensures you can control your awareness of surroundings, which is essential for safety on a commute. It also confirms that the noise cancelling is not just for constant hum but also handles changing noise levels.
Evaluate battery life and charging speed for your trip
Check the manufacturer's stated battery life for noise cancelling on, and then assume you will get about 80% of that in real-world use with moderate volume and climate. Compare that number to your longest commute plus waiting time, and double it if you might forget to charge. Also note the quick-charge feature: how many minutes of playback does a 10-minute charge give? Test this if the store allows—or read reviews that measure it. For a commute, you want at least 20 hours of playback to avoid daily charging. Look at the charging cable type; if it's a proprietary connector, you might forget it. Some headphones have a battery that lasts 30 hours but takes 3 hours to fully charge, which is fine if you charge overnight. Consider whether the headphones have a wired option when the battery dies; that is a fallback for long trips. Battery life also affects the weight—more battery adds weight, which can cause fatigue. This check is practical because a dead headphone on a commute is useless. Also, note the battery indicator clearness; you want a percentage readout on the app rather than just a blinking light.
Inspect the carrying case and foldability for portability
Place the headphones in their case and check if the case fits in your daypack or messenger bag. Measure the case's dimensions and compare to your bag's main compartment. Also, check the fold mechanism: do the ear cups rotate flat and tuck into the case easily? A hard case offers more protection but takes up more space, while a soft pouch is lighter but less protective. Test closing the case with the headphones inside—if you have to force it, the fit is too tight and may damage the cable or controls. For commuting, you will pack and unpack them often, so the process should be smooth. Also, consider whether you can use them with a neck pillow without them falling off? The case's weight adds to your load, so lighter is better. Some cases have a carabiner or loop for attaching to a backpack; that is convenient. Check that the hinge feels sturdy—wiggle it to see if it is loose. This check is a final safeguard that your headphones survive the jostling of a crowded bus and do not add bulk to your everyday carry.
Quick Reference
| Situation | Action | Why it helps |
|---|---|---|
| You feel a tight squeeze around your ears after 15 minutes of listening. | Adjust the headband to a longer setting and re-center the ear cups over your ears; if still tight, choose a model with lower clamping force and oval-shaped ear cups. | A tight fit restricts blood flow and causes soreness, and it also indicates a mismatch that can compromise the noise cancelling seal. |
| You need to hear a train announcement while wearing the headphones. | Activate ambient mode or tap the transparency button, then lower the volume to hear the announcement; if no ambient mode, remove one ear cup. | Ambient mode lets in external speech and platform noises while keeping your music playing, so you stay aware without pausing. |
| Your headphones constantly cut out or mismatch volume when connected to two devices. | Disconnect one device from the list in your Bluetooth settings, then reconnect the active device; also check the app for multipoint priority settings. | Multipoint connections can conflict when both devices are active, so manually managing the connection prevents audio drops. |
Common Issues
- Ear fatigue and soreness during long commutes.: Take off the headphones for 5 minutes every hour or use ear pads made of memory foam to distribute pressure. Also, adjust the headband so that most pressure sits on your head, not on your ears.
- Noise cancelling feels like a 'suction' or pressure on the ears.: Switch to ambient mode for a few minutes or turn off noise cancelling entirely. Some headphones have a 'venting' feature; if not, choose a pair with a less aggressive noise cancellation curve.
- Headphones slide off when you look down or back.: Tighten the headband, or use headphones with a wider headband and more clamping force. Alternatively, use a neckband or wireless earbuds for a more secure fit if the headphones are too loose.
Advanced Tips
- Use a custom equalizer to boost mids and highs when in ambient mode to compensate for the muffling of voices.
- Set a weekly reminder to clean the ear pads and mesh; a clean seal improves noise cancelling by up to 30%.
- Store your headphones in a dry, cool place with the ear cups extended to prevent memory foam from shrinking.
Final Checklist
- Ear cups deep and wide enough so your ears do not touch the speaker or fold over.
- Clamping force holds firmly without pain; headband adjusts without overstretching.
- Battery life at least 1.5 times your longest commute, and quick-charge is available for emergencies.
- Ambient mode lets you hear announcements clearly, and the case fits easily in your bag.
FAQ
How do I know if noise cancelling is actually working?
Play a constant low-frequency sound like an air conditioner hum using a frequency generator app. With noise cancelling on, the hum should be significantly quieter. Also, walk near a busy road to see if traffic noise is reduced. The effect is most noticeable for droning sounds, not sudden noises.
Can I wear these headphones while sleeping on a commute?
Yes, but check that the ear cups are soft and the clamping force is low so they don't fall off when you tilt your head. Use a neck pillow and ensure the headband doesn't press the top of your head. Some people prefer over-ear headphones that are deeper to avoid touching the ears when lying back.
What if the headphones get wet in the rain?
Most over-ear headphones have no official water resistance rating, so they are not safe in heavy rain. Carry a zip pouch or use the hard case. If they get damp, wipe them dry and leave them in a well-ventilated area for 24 hours before charging. Avoid using a hair dryer as heat can damage foam and plastics.