What To Check Before Choosing A Home Energy Monitor
A practical step-by-step guide to what to check before choosing a home energy monitor, including preparation, instructions, common issues, tips, and next steps.
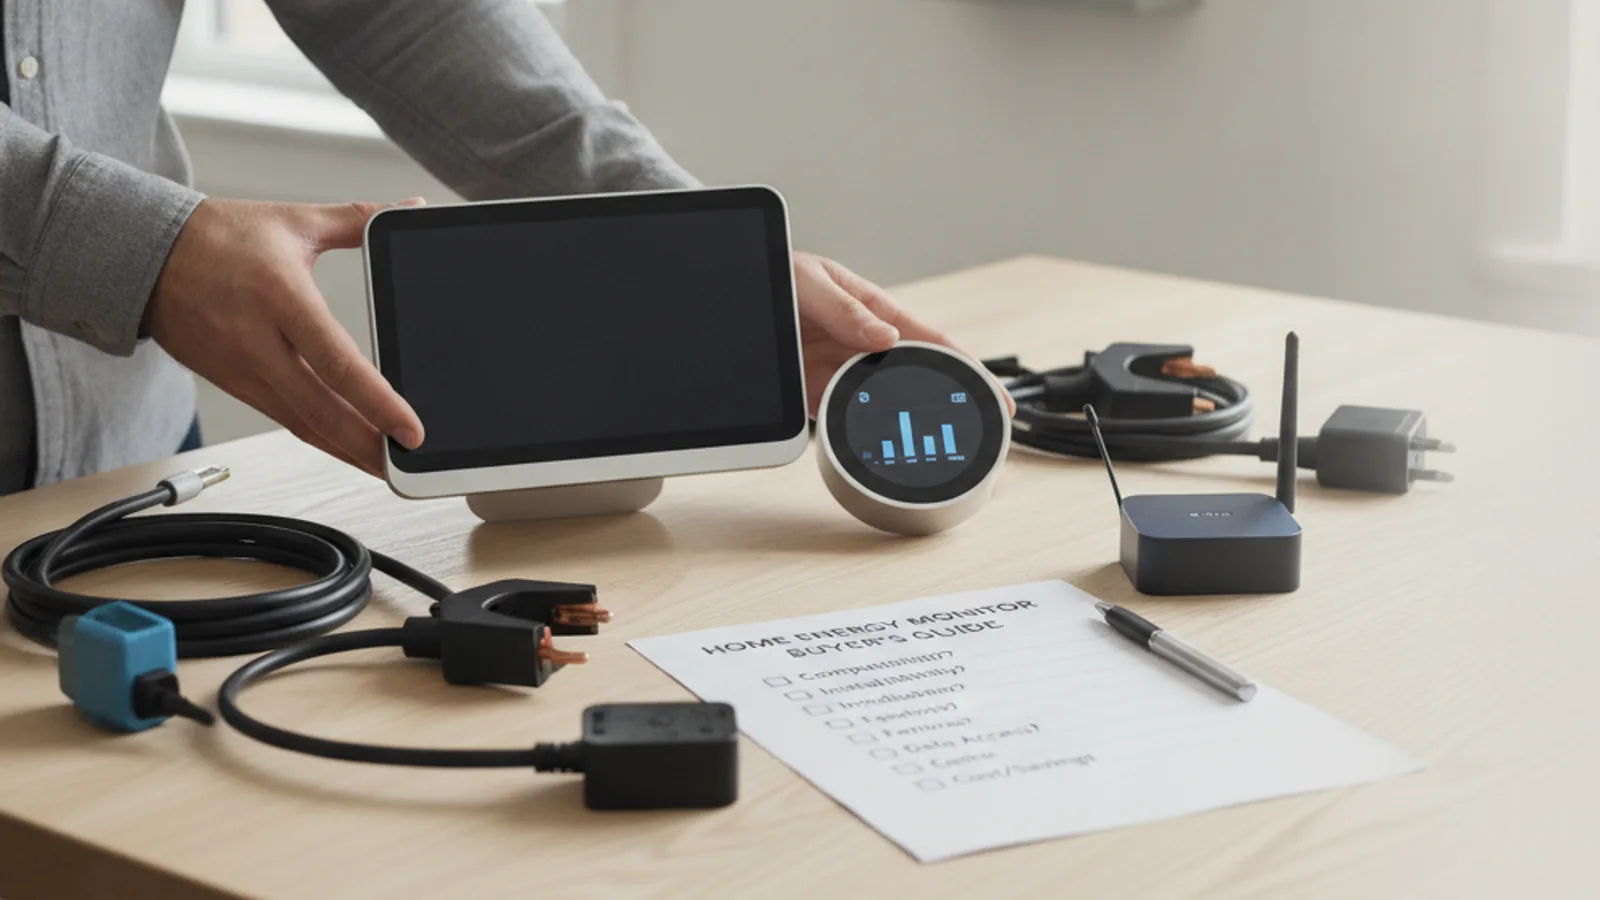
What To Check Before Choosing A Home Energy Monitor
Choosing a home energy monitor requires verifying compatibility with your electrical panel, understanding the installation complexity, checking the accuracy of data collection, and confirming how the system connects to your home network. This guide walks through six essential checks to help you select a monitor that fits your safety needs, technical comfort, and long-term energy goals.
Fast Answer
- Check that the monitor is compatible with your electrical panel type and voltage, and confirm whether you need professional installation.
- Review how the monitor connects (wired or wireless) and verify that the data accuracy and reporting features meet your needs.
Before You Start
- Locate your electrical panel and note its brand, model, and physical layout, including the number of breaker slots and available space.
- Determine the amperage rating of your main breaker and whether your system is single-phase or three-phase, as this affects compatibility.
- Measure the size of your main electrical cables (diameter) and check the panel's clearance around the lugs for current transformer sensors.
- Write down your home network details, including the Wi‑Fi frequency band (2.4 GHz or 5 GHz) and the distance from the panel to the router.
Step-by-Step Instructions
Check Panel Compatibility and Physical Fit
Start by opening your electrical panel door (with the main breaker off) and inspecting the existing breakers and wiring. Look at the brand‑label sticker inside the panel door to note the manufacturer and model number. This information is critical because most consumer‑grade energy monitors are designed to fit standard single‑phase panels that operate at 120/240 volts, but your home may have a three‑phase service or a panel from a less common manufacturer with unusual busbar spacing. Measure the width and depth of the available breaker slots to ensure that the monitor's current transformers (CTs) can clip around the main feeder cables without crowding or touching other wires. Also, check the wire diameter of the main cables because CTs come in different aperture sizes. If the CTs are too small to fit around your main cables, you would need to get a different size, which can add cost and delay. Finally, verify that the panel has a neutral connection point available if the monitor requires one for its voltage reference. This physical check is the first step because it prevents you from purchasing a monitor that simply cannot be installed in your home.
Verify Voltage and Service Type
Identify the voltage configuration of your home's electrical service. In North America, typical residences use single‑phase, three‑wire split‑phase service with 120/240 volts. In Europe and other regions, you may have three‑phase service at 230 volts. Your monitor must match this service type, because the device uses voltage and current measurements to calculate power. If you install a single‑phase monitor on a three‑phase system, the readings will be completely wrong and the device may not even start. To determine your service type, look at the main breaker: if it has two poles side by side, it is likely single‑phase 240‑volt service. If you have three poles grouped together, you have three‑phase service. Also, check the label on the breaker for its amperage rating, usually 100, 150, or 200 amps, because some monitors have a maximum rating. The monitor's CTs must be rated for your current level to avoid overheating or inaccurate readings. If you are unsure about your service type, call a qualified electrician to confirm; this is not a guess you want to make. This check ensures that the monitor's power calculations are meaningful and that the device operates safely within the panel's electrical limits.
Assess Data Accuracy and Sampling Rate
Look for documented specifications about how the monitor measures real‑time power and energy. High‑quality monitors sample voltage and current many times per second (for example, every second or even faster) to capture brief spikes from appliances like refrigerators and air conditioners. If a monitor samples only once per minute, it will miss these short‑duration events, leading to incomplete data and less useful insights. Check the accuracy specification: a good monitor reports power within a few percent of the actual value, but cheap models can be off by 10% or more. This accuracy is important because you plan to use the data to decide which appliances to upgrade or change your usage habits. In addition to real‑time data, decide whether you need historical reporting with minute‑level detail or if hourly summaries are sufficient. Some monitors store data at 1‑second intervals, but that generates large amounts of data, which may affect how often the monitor can upload to the cloud. For most households, a 5‑second to 15‑second sampling interval is enough. Verify that the monitor's software displays data in the format you understand: either watts, kilowatts, or both, and that it clearly differentiates between power (rate of usage) and energy (accumulated over time). By checking these specifications before purchase, you avoid surprises and select a monitor that provides the level of detail you actually want.
Evaluate Connectivity and Home Network Needs
Examine how the energy monitor sends data to your phone or computer. Most modern monitors use Wi‑Fi to connect directly to your home network, but others may require a separate bridge or hub. Check whether the monitor supports the same Wi‑Fi security protocols that your router uses (WPA2 or WPA3) and whether it can join the 2.4 GHz band. Many smart‐home devices only support 2.4 GHz, so if your router broadcasts a single network with both bands using the same name, the monitor might have trouble connecting. If your router separates the bands, you might need to allow the device onto the 2.4 GHz network. Also, consider the distance from your electrical panel to your router, because metal panels and long distances can weaken the signal. If the panel is far away, you might need a Wi‑Fi extender. Some monitors use Zigbee or Z‑Wave and require an additional hub, which is an upfront cost and another device to manage. Decide whether you prefer a direct Wi‑Fi connection for simplicity or a local protocol that can work even without internet. Finally, check whether the monitor has a local data storage option in case your internet connection goes down. Understanding these connectivity details ensures that you can actually receive data from the monitor after installation and that you are prepared to adjust your network settings if needed.
Consider Installation Complexity and Requirements
Review the monitor's installation instructions to determine whether you can install it yourself or should hire an electrician. Some monitors are designed for DIY installation and come with clamp‑on CTs that fit around wires without cutting them. Others require a licensed electrician because they need to be wired directly to the main breaker or require connection to live circuits. If the monitor requires a separate flow meter or additional sensors (for example, to monitor solar generation), that adds complexity. Also, check the monitor's mounting location: some panel boxes are tight, so the monitor itself must be small enough to fit inside the panel or you need to mount it outside. If you are not confident working inside your electrical panel, it is safer and often necessary to hire a professional. Professional installation adds cost, but it ensures the monitor is installed correctly and avoids any risk to your home's electrical system. Additionally, confirm that the monitor is compatible with any local electrical codes that require a licensed electrician for any work inside the panel. You can check this by calling your local building department or simply by following the manufacturer's recommendation. This step helps you plan your budget and timeline realistically, preventing you from buying a monitor that you cannot legally install yourself.
Review Software, Data Access, and Security
Before committing, examine the monitor's companion app or web interface to ensure it is user‑friendly and provides the features you need. Check whether the app allows you to set up alerts for unusually high usage, view historical trends, and export data if you want it for your own records. Also, consider the data transmission and storage: does the monitor send data to the cloud, and if so, what are the privacy practices? You should read the privacy policy to understand what data is collected and whether it is shared with third parties. If you prefer to keep your energy data local, look for a monitor that offers offline access or a local API for integration with home automation systems. Additionally, check if the software is regularly updated with new features and bug fixes, and whether the company provides support by email, phone, or online chat. Another important aspect is the ability to integrate with other smart‑home devices, such as voice assistants or automation routines, but this is not essential for everyone. Test the app's trial version if available, or watch video reviews to see the user experience. By thoroughly reviewing the software, you ensure that the monitor's data will be accessible and useful to you, and that you are comfortable with how your data is handled.
Quick Reference
| Situation | Action | Why it helps |
|---|---|---|
| Your electrical panel is an unusual brand or has limited space around the main cables. | Measure the main cable diameter and breaker slot width, then contact the monitor manufacturer to confirm physical fit and recommended CT size. | Avoids buying a monitor that physically does not fit, saving you the hassle of a return and potential safety hazards from squeezing sensors. |
| You live in a three‑phase building or are unsure about your home's electrical service type. | Check the main breaker for the number of poles (two or three) and the voltage rating, then only choose a monitor that explicitly supports that service type. | A mismatched monitor will produce inaccurate readings or fail to function, so verifying this upfront prevents wasted money and frustration. |
| Your Wi‑Fi router sits far from the electrical panel, or the signal must pass through thick walls. | Before purchasing, move the router temporarily closer to the panel or use a Wi‑Fi extender to test the signal strength; choose a monitor that works on the 2.4 GHz band. | Weak signal leads to unreliable data transmissions and frequent disconnections, making the monitor useless; confirming connectivity beforehand ensures you get the data you need. |
Common Issues
- The monitor's CTs do not fit around the main electrical cables because the cables are thicker than expected.: Measure the cable diameter precisely using calipers and compare it with the monitor's CT aperture specification. If it does not fit, purchase a larger CT size or a different monitor with a wider CT opening. Always consult an electrician if you need to rework the installation.
- After installation, the monitor shows extremely high or constantly zero power usage, indicating incorrect data.: Check that the CTs are properly closed and facing the correct direction (usually there is an arrow indicating the direction of current flow). Also verify that the voltage reference wire is connected to the correct phase. If issues persist, reset the monitor and re‑pair it with your Wi‑Fi, as signal interference can cause data gaps.
- The monitor loses Wi‑Fi connection frequently, especially if the router is far away.: Move the router closer to the panel if possible, or install a Wi‑Fi range extender. Ensure that the monitor is not hidden inside a metal electrical enclosure that blocks the signal. Consider using a monitor that supports a wired Ethernet connection or a mesh Wi‑Fi system for more reliable connectivity.
Advanced Tips
- If you have solar panels or a battery, choose a monitor that can measure net energy (import vs. export) or supports bi‑directional CTs, so you can see both production and consumption separately.
- Set up data export or use an open API to store your energy data locally, then analyze trends over multiple years to plan for efficiency improvements that yield the best long‑term impact.
- Check the monitor's firmware update policy and how long the manufacturer commits to updating the software, because a monitor that stops receiving updates may lose compatibility with future network standards or security patches.
Final Checklist
- Confirmed that the monitor supports my panel type and voltage; checked the product's compatibility list or consulted an electrician.
- Measured the physical space and cable sizes to ensure the CTs will fit; verified that the monitor's dimensions work in my panel.
- Decided on installation method (DIY vs. professional) and am comfortable with the steps; have the necessary tools or scheduled an electrician.
- Verified that the monitor's Wi‑Fi connectivity meets my home network needs and that the app offers the features I want for data review and alerts.
FAQ
Is it safe to install an energy monitor myself?
It depends on your comfort level and the monitor's design. Some monitors are designed for DIY installation, using non‑invasive sensors that just clip around wires. However, if the monitor requires opening the main panel and connecting to live circuits, or if you are unsure about working with electricity, it is safer to hire a licensed electrician. Incorrect installation can be dangerous and void your warranty, so assess your skills honestly.
How accurate are home energy monitors?
Accuracy varies by model. Quality probes typically report power within a few percent of the actual value, but cheaper ones can be off by 10% or more. To get reliable data, choose a monitor that samples voltage and current multiple times per second and check its accuracy rating in the specifications. Even with high accuracy, remember that readings are estimates, not scientific instruments.
Will an energy monitor work if my electricity provider uses a different voltage?
You need to match the monitor to your home's standard voltage and phase configuration. Most residential monitors support 120/240 volts single‑phase, but some are designed for 230 volts three‑phase. Check your panel's label to determine the voltage and phase, then look for a monitor explicitly compatible with that service. If you are unsure, consult an electrician to avoid buying the wrong device.