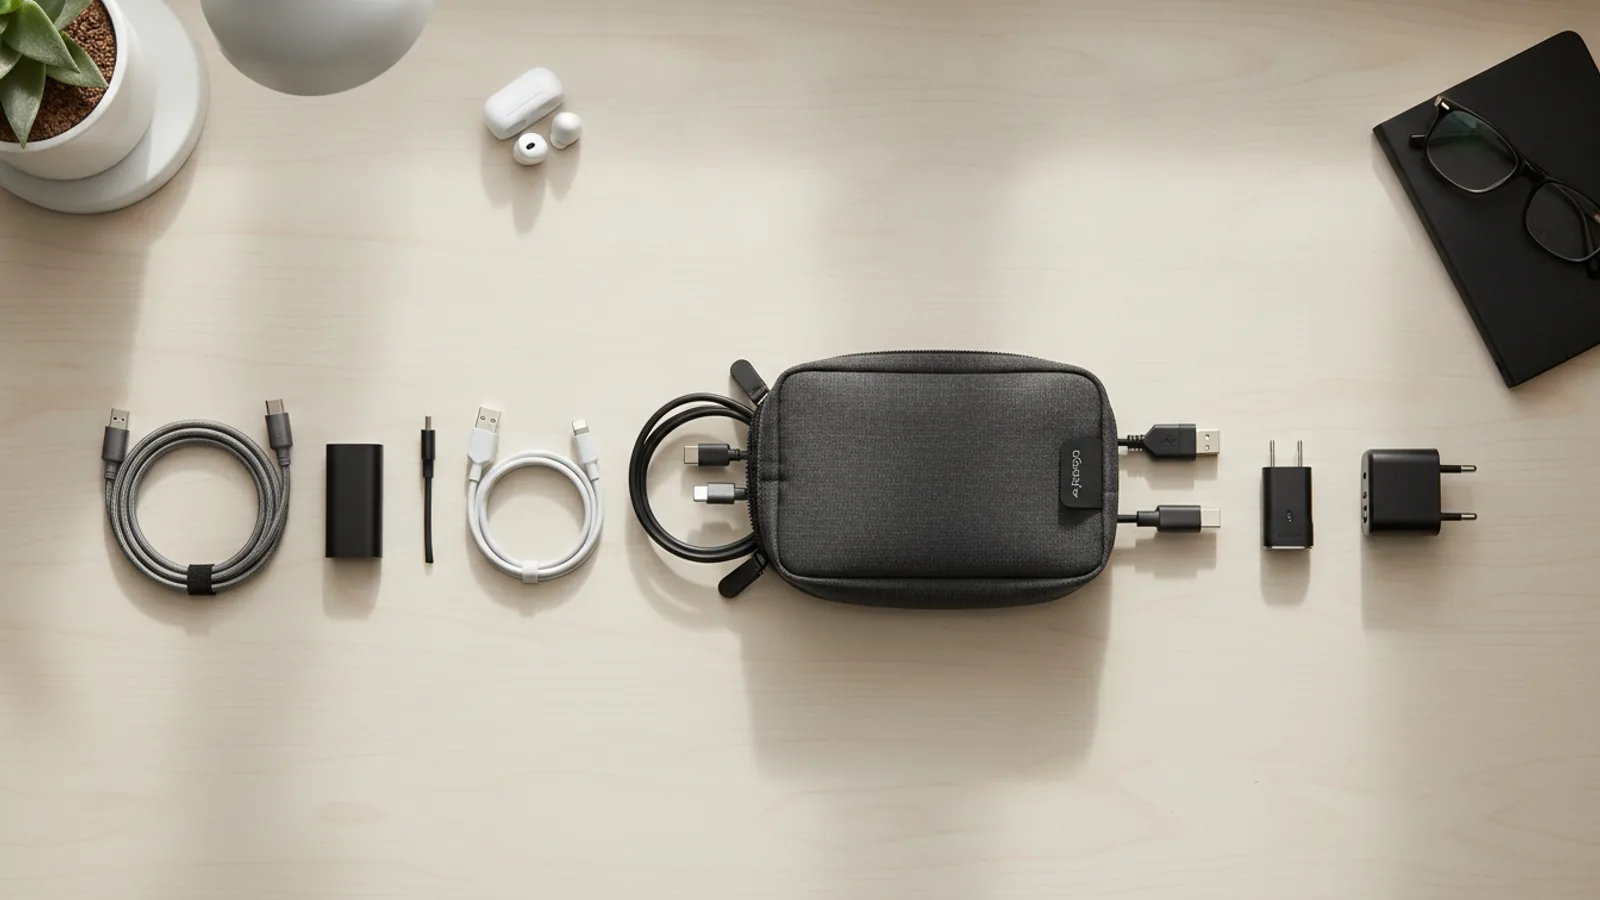
How To Create A Tidy Drop Zone For Cables Earbuds And Adapters
A practical step-by-step guide to how to create a tidy drop zone for cables earbuds and adapters, including preparation, instructions, common issues, tips, and next steps.
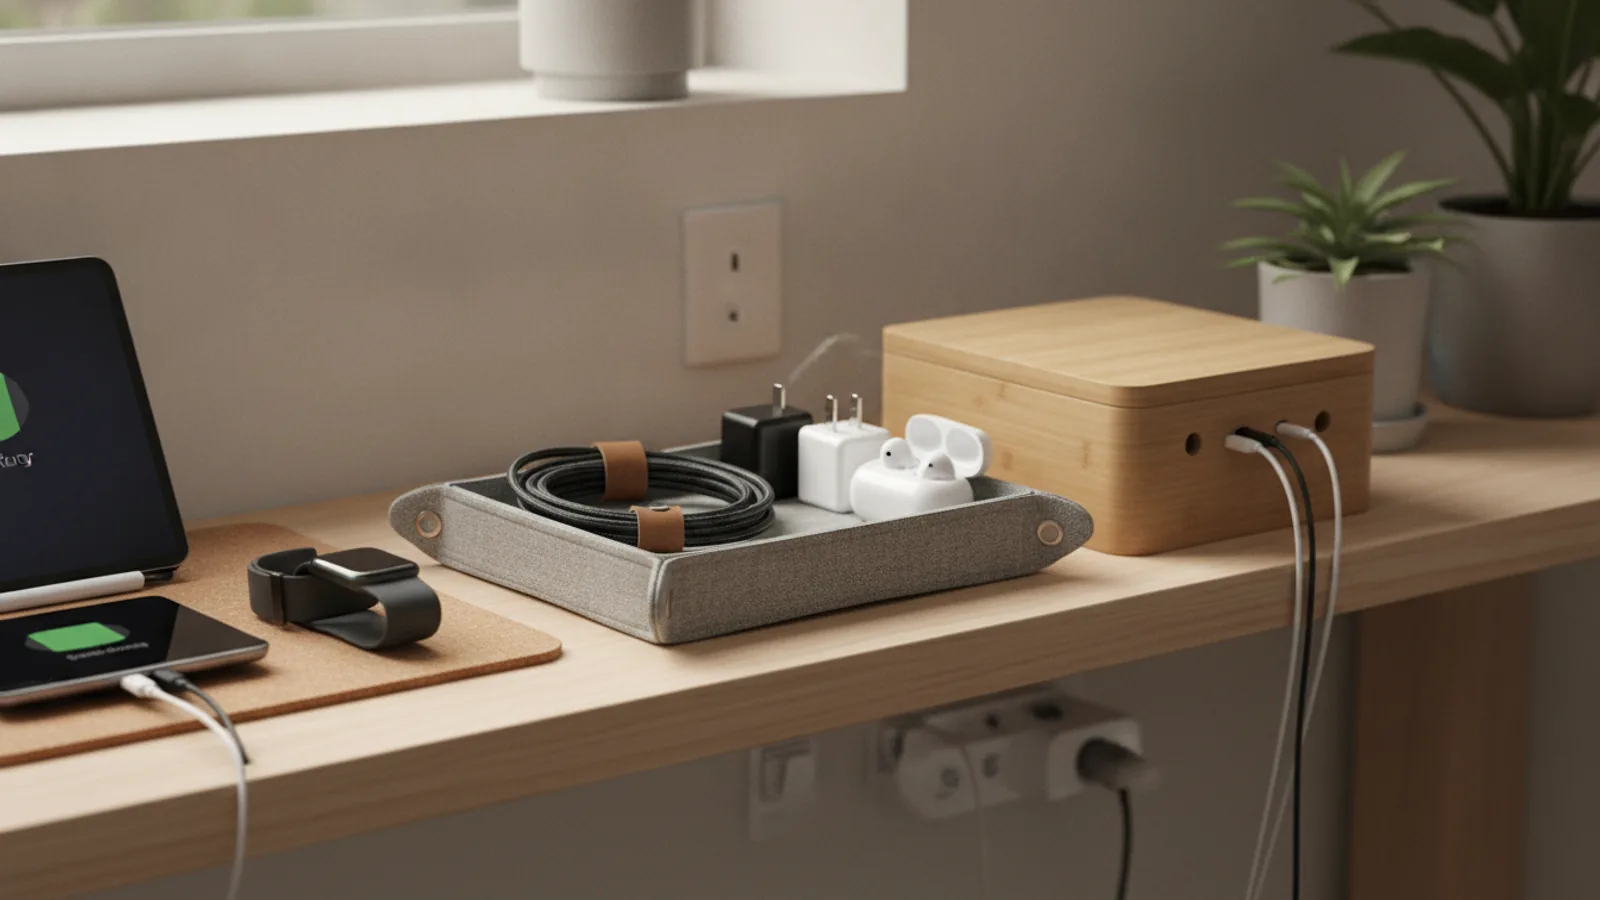
How To Create A Tidy Drop Zone For Cables Earbuds And Adapters
This guide shows you how to create a tidy drop zone for cables, earbuds, and adapters, using simple materials and a clever layout. You'll learn to prepare your space, organize cords with ties and labels, and set up a daily-use tray that keeps everything visible and tangle-free. The steps cover choosing a location, sorting items, using containers and cable management tools, and establishing a habit to maintain order. With practical checks and tips, you'll reduce clutter and save time searching for your tech accessories.
Fast Answer
- Use a shallow tray or lazy Susan as the base, add a few small containers or silicone cups for different item types, and secure cables with velcro ties, then coils them into a figure-eight or simple loop before placing in the tray.
- Place the drop zone near where you usually sit or enter the room, and make it a habit to untangle and coil cords every time you put them away, using labels to identify which cable belongs to which device.
Before You Start
- Gather a tray, box, or shallow basket that is wide enough to hold your largest adapter and deep enough to contain earbuds without them spilling over the edge.
- Collect small containers like silicone muffin cups, mini jars, or divided craft organizers to separate earbuds, adapters, and cables into distinct sections.
- Find soft cable ties, velcro straps, or reusable twist ties; avoid using plastic zip ties that are hard to open. Also have a permanent marker and labels on hand.
- Choose a clear, flat surface near a power outlet, such as a corner of a desk or a shelf by the door, where you can easily reach the drop zone and see its contents at a glance.
Step-by-Step Instructions
Clear and Clean Your Chosen Surface
Start by removing everything from the surface where you plan to create your drop zone. Wipe it down with a damp cloth to remove dust and crumbs, then dry it fully. This ensures that your cables and adapters stay clean and that no debris gets into the ports. A clean surface also makes the area look inviting, which encourages you to use it consistently. After cleaning, place your tray or basket in the center of the surface, leaving some space around it so you can easily reach items from all sides. If your tray has a non-slip bottom, press it down gently; if not, consider putting a grippy shelf liner underneath to prevent it from sliding when you drop things in. Check that the tray is stable and does not wobble. Once it is secure, you are ready to sort your items, which is the next step.
Sort Cables, Earbuds, and Adapters
Gather all your loose cables, earbuds, and adapters from drawers, bags, and tabletops. Place them into separate piles: one for chargers, one for earbuds, one for adapters, and one for any miscellaneous connectors. As you sort, untangle each cord by carefully pulling it apart from the ends, not the middle, to avoid stressing the wire. For earbuds, tuck the buds into the ear tips if they are detachable, and for adapters, inspect the prongs and ports for dirt or damage. This sorting process helps you see exactly how many items you have and what you use regularly. If you find duplicates or items you no longer need, set them aside for recycling or donation, but do not discard them at this stage because you might want to test them later. Once everything is sorted, you can decide what to keep and what to discard.
Place Small Containers for Each Category
Now, arrange your small containers inside the tray, one for each category you sorted. For example, use a shallow cup for earbuds, a slightly deeper one for wall adapters, and a longer section for cable coils. Position the containers so that the most frequently used items are at the front or in the palm of your reach. If you have a lazy Susan, you can place containers around the center pillar so that a simple spin brings any category to you. For a fixed tray, create a simple layout: place the earbud container on the left, adapters in the middle, and cables on the right if you are right-handed; reverse it if you are left-handed. As you place each container, think about whether you can easily see what is inside. Choose containers that are clear or have open tops so you can instantly spot the item you need without digging. After arranging, snap a photo with your phone to remember the layout, then proceed to coil your cables.
Coil and Store Cables Neatly
Take each cable that you want to keep and coil it using the over-under technique. To do this, hold one end in your hand, then loop the cable around your other palm, alternating the direction of each loop above and below the previous one. This method reduces twists and prevents tangles. After coiling, secure the cable with a soft velcro tie or a reuseable twist tie, placing the tie near one end of the coil so that the connector is easy to find. If you have several cables that are similar, label each with a small tag or a piece of masking tape marked with the device name, such as 'phone' or 'tablet'. Then, stand the coils upright in your cable container, or lay them flat if they are short. Leave the connectors pointing upward so they are easy to grab. As you store each cable, check that the coil is not too tight, as that could stress the wire. Finally, give the container a gentle shake to see if any coils fall over; if they do, you may need to make the coils smaller or use a deeper container.
Arrange Earbuds and Adapters
Place your earbuds into their designated container, making sure each pair is looped gently without bending the plug at a sharp angle. If you have wireless earbuds, place the case in the container with the lid closed to keep dust out. For wired earbuds, you can wrap them around a small carabiner or a dedicated earbud holder, but avoid wrapping too tightly around thin objects like a pen. For adapters, place them in their container with the prongs facing downward and the USB port facing up, which prevents dust and small debris from settling into the openings. If you have multiple adapters, stack them flat so they do not tip over. Arrange them so that the largest adapter is at the back and the smallest in the front, making it easier to see every piece. After placing each item, pause and check that nothing overlaps or presses against the tray walls, because that can cause strain over time. Also, ensure that the earbud container is not overcrowded; if you have more than three pairs, consider rotating them or storing extras elsewhere.
Set Up a Daily Drop-Off Routine
Now that your drop zone is organized, create a habit of using it every time you come home or finish using a device. At the same time each day, perhaps before dinner or right after work, spend two minutes to put any loose cables, earbuds, or adapters into their proper containers. To make this easier, keep the drop zone in a location that is naturally in your path, such as next to your keys or on a shelf by the entrance. You can also attach a small sign or a colored sticker to remind yourself. Once a week, take a few minutes to re-coil any cords that have become loose and to wipe down the tray. This routine prevents clutter from building up and ensures that you always know where your gear is. After each daily ritual, do a quick visual check to see if any items are out of place, and put them away immediately. Over time, this becomes an automatic habit, like locking the door when you leave.
Quick Reference
| Situation | Action | Why it helps |
|---|---|---|
| You come home with earbuds and a charging cable in your pocket and need to put them away quickly. | Unplug the cable, unclip the earbuds, and place both directly into their labeled containers, making sure to lay the cable flat so it doesn't coil around itself. | Putting items away immediately prevents tangles and reduces the time you'll need to untangle them later, keeping the drop zone neat. |
| You notice your cable tends to tangle as soon as you coil it, even after using the over-under method. | Re-coil the cable using a looser loop, and this time, hold the cable at the connector end, then allow it to twist naturally as you wrap it around your hand. | Sometimes cables have a memory from previous wrapping; a looser coil with natural twists reduces internal stress and prevents tangles from forming. |
| You need to find a specific adapter for your laptop quickly, but your adapters are piled in a container. | Sort the adapters by type, stand them upright with ports facing up, and use small labels on the side of each adapter to indicate the device it belongs to. | An organized and labeled adapter container lets you identify the correct one at a glance, saving time and preventing you from rummaging. |
Common Issues
- Cables keep slipping out of their container.: Choose a deeper container with vertical sides, and when you coil cables, make the coil size slightly smaller than the container's width so they stand upright and don't spill over. Alternatively, use a container with a lid or a grip insert to hold coils in place.
- Earbuds become tangled even when stored separately.: Instead of just dropping earbuds into a container, wrap each pair using a 'cable butterfly' technique: fold the cord in half, wrap the loop around your fingers twice, and tuck the loose ends through the center. This keeps each pair independent and prevents them from interweaving.
- The drop zone becomes cluttered with items that do not belong, like pens or coins.: Create a separate 'miscellaneous' container on the tray for non-tech items, and add a simple rule: if it doesn't fit in a cable, earbud, or adapter container, it must have its own home. Review the tray once a week and remove anything that is not meant to be there.
Advanced Tips
- Use a cable organizer with individual slots or channels to keep each cable completely separate, preventing them from touching and tangling even when you move the tray.
- Install a small hanging hook on the side of the tray for frequently used cables, so you can grab them without opening containers, but avoid coiling them on the hook to prevent damage.
- Take advantage of vertical space by stacking a second tray with legs or using a stand to hold adapters, keeping the lower tray for cables and earbuds, which improves visibility and access.
Final Checklist
- Verify that no cables are wrapped tightly around sharp corners or compressed under other items, and that all connectors are free of dust.
- Check that every earbud pair has its own space and is not intertwined with another pair's cord, and that the plug is not bent at an acute angle.
- Confirm that the tray is stable and does not slide when you reach for items, and that all containers are within easy reach without stretching.
- Do a final visual scan to ensure that every adapter is placed prong-down and that the entire drop zone looks neat and inviting, making you want to use it.
FAQ
How often should I clean and reorganize my drop zone?
Ideally, perform a quick tidy-up every day when you put away your devices, spending no more than two minutes to re-coil loose cables and return stray items to their containers. Once a week, wipe the tray and containers with a dry or slightly damp cloth to remove dust. Every month, do a deeper declutter by removing any items you no longer use, testing cables that you suspect might be broken, and reducing duplicates to keep the zone from overflowing.
What if I have more cables than my drop zone can hold?
First, evaluate whether you truly need all of them; many people keep extra chargers for old phones or devices they rarely use. Set aside duplicates and cables you haven't used in six months, and store them in a separate drawer or labeled box. In your drop zone, keep only the cables you use at least weekly. If you have a few bulky cables that must be kept, you can hang them on wall hooks or use a cable management sleeve to wrap them tightly, but always maintain a small footprint in the drop zone.
Would it be better to use a drawer instead of an open tray for my drop zone?
An open tray is generally better because it provides visual access, so you can quickly locate an item without opening a drawer. However, if you prefer a clean countertop, you can use a shallow drawer with removable dividers or a cutlery organizer. The key is to keep the layout simple and consistent: assign each item type a specific compartment and stick to the routine. A drawer works best if you close it after every use to prevent dust accumulation, but it may encourage clutter if you tend to toss things in without sorting.